Article Overview
Proper cable tray installation in a heat exchange station requires careful planning, material selection, routing, and secure mounting to ensure safety, reliability, and compliance with industrial standards.
1. Pre-Installation Planning
Before starting, conduct a risk assessment to identify hazards such as high temperatures, electrical exposure, or confined spaces. Ensure all personnel wear PPE including helmets, gloves, safety shoes, and eye protection, and verify that work permits and Lockout/Tagout (LOTO) procedures are in place for nearby energized systems . Review the approved cable tray layout drawings (Issued for Construction) and coordinate with structural, HVAC, and other utility systems to avoid interference . Plan the shortest and straightest routes to minimize cable length, reduce heat buildup, and simplify maintenance .
2. Selecting Tray Type and Material
Choose the tray type based on the environment and cable requirements:
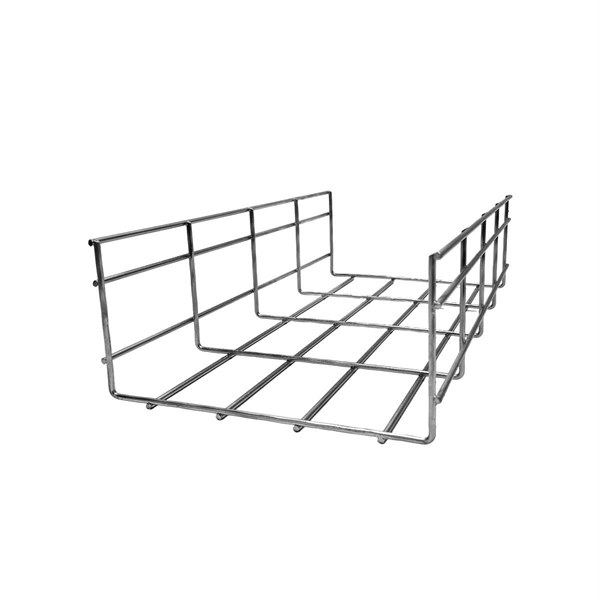
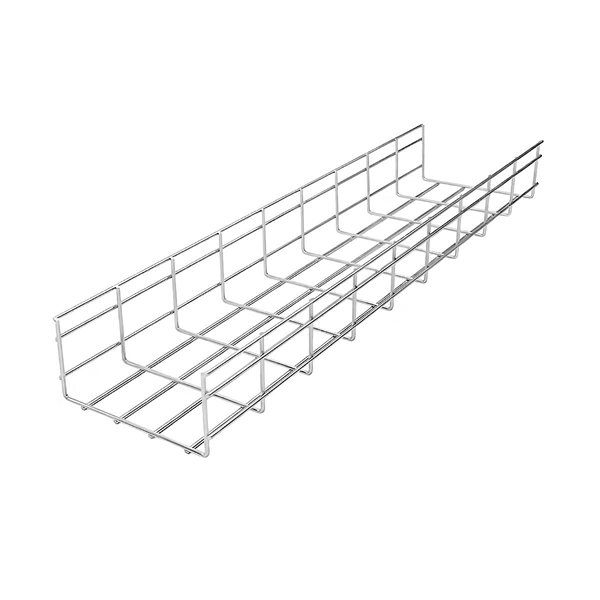
- Ladder trays: Provide airflow and support for heavy or high-voltage cables.
- Perforated trays: Suitable for lighter loads and allow heat dissipation.
- Solid-bottom trays: Protect sensitive instrumentation cables from dust or debris . Material selection should consider corrosion resistance and temperature:
- Indoor, normal conditions: Painted or galvanized steel.
- Outdoor or high humidity: Hot-dip galvanized or stainless steel.
- Corrosive environments: Aluminum alloy or fiberglass-reinforced plastic .
3. Mounting and Support
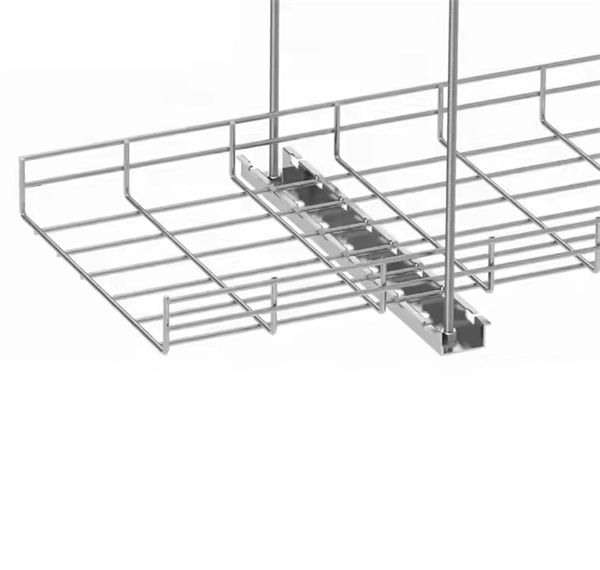
Secure trays using appropriate clamps, brackets, and supports, spaced according to tray type and load (typically 1.5–3 meters apart), . Ensure trays are level, straight, and properly aligned, and use connectors and fittings to maintain continuity. For long runs, consider cable tray rollers to prevent kinks and damage during installation .
4. Cable Installation
- Segregate power and signal cables to minimize electromagnetic interference.
- Maintain adequate spacing between cables to prevent overheating.
- Follow minimum bend radius guidelines to avoid cable stress .
- Use markers and labels for cable identification to facilitate maintenance .
5. Fireproofing and Inspection
- For fire-sensitive areas, use fireproof trays and ensure coatings are intact.
- Periodically inspect trays for corrosion, mechanical damage, or loose connections.
- Confirm grounding continuity and verify that all supports and connections meet design specifications .
6. Final Testing and Documentation
After installation, perform a final inspection to ensure compliance with IEC, IEEE, and local safety standards. Document tray routes, cable types, and inspection results for quality assurance and future maintenance . By following these steps, cable trays in a heat exchange station will be safe, reliable, and maintainable, minimizing risks of overheating, electromagnetic interference, and mechanical failure.
100+ Essential Questions Answered About Cable Trays: Design
Discover over 100 expert answers about cable trays, covering key topics like material selection, load capacity,
Cable Tray Technical Guide A practical guide to product selection and
A practical guide to product selection and installation This guide for engineers and installers has been developed by ABB as a
Beama Best Practice Guide | Installation Of The System | Cable
The following recommendations are intended to be a practical guide to ensure the safe and proper installation of cable ladder and
Instrumentation Cable Tray Installation Checklist and
Step-by-step instrumentation cable tray installation guide with safety tips, standards, inspections, and downloadable
Cable Tray Installation and Cable Handling Method Statement
Efficient cable tray installation and proper cable handling are critical for ensuring the reliability and safety of electrical systems.
A Guide to Installing and Supporting Electrical Cable Trays
This guide covers the critical steps, from selecting the right electrical cable tray and performing accurate
Method Statement for Installation of Cable Tray or Trunking
On completion of cable tray/ ladder installation including fittings, inspect exposed finish. Remove burrs & construction
Heat Exchanger Station Cable Tray Wiring
Overview Proper planning for installing cable tray includes calculations based on loading, support systems, cable/wire fill and
Document DICOS
To install the cable tray supports, first find the required elevation from the floor to the bottom of the cable tray and establish a level
Cable tray installation in the substation
The installation of cable trays in substations plays a vital role in ensuring organized, safe, and efficient routing of power
CABLING SYSTEM
Minimum thickness of cable tray should be 3 mm. The contractor shall make his own estimate of L.T. power and control cable, cable
Cable Tray Technical Guide A practical guide to product selection and
Cable tray length is selected based on the load to be supported, the distance between the supports (also referred to as the span),
GUIDE CABLE TRAYS TECHNICAL
If it has excellent electrical continuity and is integrated in the installation''s equipotential bonding system, a metal cable tray reduces
Technical Specification for Cable tray installation and cable laying work
Approval of IPR shall be obtained for site preparation and marking the cable tray routes and locations of cable tray support before
CABLING SYSTEM
While deciding no. of cable tray and its width required for main cable trench and sub-trench for new sub-station, contractor has to
Annex I
This document deals with cables trays, cables and connector installation and segregation, cable trays earthing and E.M.C. directives.
CABLE TRAY INSTALLATION PROCEDURE
5. Cable tray installation shall preferably be installed flat in buildings or operating structures. Tray shall run as far as
Installation of cable trays in heat exchange stations
Below is the detailed cable tray installation method statement not only for cable tray but also applicable for GI ladder and trunking for
Cable Tray and Conduit Installation Method Statement
Step-by-step cable tray and conduit installation method with safety, quality and inspection
Cable Tray Installation Procedure Guide
This document provides procedures for installing cable trays according to international standards. It describes inspecting and storing
Method Statement installation of Cable Trays and Ladders
This method statement covers the site installation of the cable tray & ladders and the requirements of checks to be
Installation of cable trays in heat exchange stations
Proper planning for installing cable tray includes calculations based on loading, support systems, cable/wire fill and spacing,
Best Cable Tray for Solar, BESS & Wind Projects
Ladder cable tray – ventilation and heavy power cable support Ladder cable trays are the
INSTALLATION GUIDE
The ladder tray system must be complete before the cable/conductors are installed. The ladder tray system must be free of any
IEC Standard for Cable Tray: Complete Technical Guide
Understanding the IEC Standard for Cable Tray Cable trays play a vital role in supporting
Ampacity of Power Cables Installed in Cable Trays
Cable trays offer numerous advantages, including ease of installation, flexibility, and improved cable management. However, they
Tray Installations
Tray Installations The placement of cables, ducts, and conduits can be done using cable trays – for both outside plant (OSP) and
Installation ducts: an overview of technologies and assembly solutions
A cable tray is a rigid cover—usually in the form of an open or closed channel—designed for guiding and protecting
Related Resources
- Poland Edge Data Center IP54
- Ethiopia Hot Channel Desktop
- Monaco Bridge Ladder Side
- 60kW Outdoor Distribution Box
- Distributed fiber optic temperature sensing channel failure
- Fiberglass floater converted to electronic floater
- San Marino Certified Data Center Cold Aisle 4U
- Cables fixed inside cable trays
- El Salvador Bridge Bend Manufacturer
- Price chart for double-layer galvanized cable trays
- Sudanese Machinery Cable Tray Specifications
- OTDR Test Module Calibration in Bosnia and Herzegovina
- Central Asia s Largest Optical Module
- Does the UAE have fiber optic cable installations
- Temporary power distribution box for on-site construction
- Parts of the optical fiber cable that transmit signals
- The SC optical module cannot be removed
- Foreign winding optical cable technology
- Laying out optical fiber cable without shaft
- Belarusian wire harness distribution box manufacturer
- Finland Outdoor Optical Cable Wholesale Manufacturer
- Lebanon Cabinet 4U
- 200kWh Solar Communication System Franchise
- Specifications of Aluminum Alloy Galvanized Cable Trays
- Complete List of Lighting Distribution Box Specifications and Models
- Cable tray erection price
- Costa Rica Inquiry for SFP Silicon Photonics Technology
- Function of High Voltage Fiber Optic Splice Box