Article Overview
Installing cable trays with brackets involves planning the route, mounting support brackets at regular intervals, and securely attaching the trays to ensure a safe and organized system.
Step 1: Plan and Prepare
- Review Drawings: Obtain approved shop drawings showing the cable tray route, dimensions, installation height, and support system .
- Check Regulations: Follow the National Electrical Code (NEC) or local regulations for tray fill ratios (usually max 50%) and support spacing (typically every 1.5–2 meters) .
- Inspect the Area: Ensure the pathway is clear of obstructions like pipes, HVAC ducts, or other services .
- Gather Tools and Materials: You will need cable trays, couplers, wall or ceiling brackets, threaded rods, anchor bolts, grounding straps, power drill, wrench set, measuring tape, level, hacksaw or angle grinder, and a file for deburring .
Step 2: Mark Support Points
- Snap Lines: Use a chalk line or laser level to mark the tray path on the wall or ceiling .
- Mark Bracket Locations: Standard intervals are usually every 1.5 meters, but check the manufacturer's specifications for your tray load .
- Identify Changes: Mark locations for bends, tees, or elevation changes (risers) .
Step 3: Install Brackets
- Wall Mounting (Cantilever Brackets): Drill holes at marked points, insert wall anchors (expansion bolts for concrete), and secure the cantilever brackets ensuring they are level .
- Ceiling Suspension (Trapeze or C-Hanger): Drill holes into the ceiling slab, install drop-in anchors, screw in threaded rods, and attach a Unistrut channel horizontally to create a shelf for the tray. Level the strut using nuts and washers .
- End Brackets: For tray ends, attach end brackets to the wall or floor using the included screw set .
Step 4: Prepare and Place Trays
- Measure and Cut: Cut tray sections to fit specific lengths or corners using a hacksaw or angle grinder .
- Deburr: Remove sharp edges with a file to prevent cable damage .
- Place Trays: Lift tray sections onto the installed brackets or strut channels .
Step 5: Secure and Connect
- Fasten Trays: Use hold-down clips or bolts to secure trays to the brackets so they do not slide .
- Join Sections: Connect tray sections end-to-end using couplers or splice plates .
- Final Checks: Ensure trays are level, properly supported, and free from obstructions. Verify grounding and bonding as required . By following these steps, you can achieve a safe, stable, and well-organized cable tray installation suitable for electrical, communication, or signal cabling systems.
How To: Install Wall Brackets for Cable Trays and Ladders
Welcome to our comprehensive guide on installing wall brackets for different types of
Method Statement installation of Cable Trays and Ladders
This method statement covers the site installation of the cable tray & ladders and the requirements of checks to be
Best Practice Guide to Cable Ladder and Cable Tray Systems
Introduction This publication is intended as a practical guide for the proper and safe* installation of cable ladder systems, cable tray
Best Practices for Installing Cables in Trays
Learn the best practices for installing cables in trays. This guide covers essential steps,
Cable Tray Installation Guidelines | PDF | Galvanization
This document provides details on installing cable trays and their support systems. It includes diagrams showing how to mount cable

INSTALLATION GUIDE
Center hung tray supports allow for quicker and easier cable installation by allowing cables to be deposited into tray systems from
Cable Tray Technical Guide A practical guide to product selection and
The choice of method should be discussed with a local inspector. The best decision may be to extend only the cables, creating a
Method Statement for Installation of Cable Tray or Trunking
On completion of cable tray/ ladder installation including fittings, inspect exposed finish. Remove burrs & construction
Best Fixing and Mounting Options for Cable Trays | CMW
The best installation method depends on your space and needs, but wall-mounted brackets or ceiling suspensions are
Cable Tray Installation Method Statement
This document provides a method statement for installing cable trays and trunking systems for building electrical services. It outlines
Essential Guide to Cable Tray Support Brackets Installation
In this essential guide, we will explore the installation process for cable tray support brackets, highlighting their importance in
Cable Tray Installation Guidelines
The document outlines steps for laying cables, including installing supports, fixing the tray, laying cables with proper spacing, and
Top Installation Tips for Cable Trays by Blitz Systems:
Proper cable tray installation is essential in managing and protecting electrical cables in
Cable Tray Trunking & Ladder Installation Method Statement
Cable Trays and Trunking shall be fixed with metal bracket at an interval of 1200mm or less as per manufacturer recommendations
Decoding Cable Tray Support Structures: Tips and Insights
Discover efficient cable tray support structures for optimal cable management. Learn about
Cable Tray and Trunking Installation Guide
This document provides a method statement for installing cable tray or trunking systems. It outlines the key
Cable tray manual
Where the cable type may be used, cable tray may be installed to support it except as per Section 392.12 which states that cable
Cable Tray Installation Procedure Guide
This document provides procedures for installing cable trays according to international standards. It
Best Fixing and Mounting Options for Cable Trays | CMW
Wire Mesh Basket Tray: The Easy Choice for Versatile Installations Wire mesh basket trays are an excellent option for
5 Steps to Learn How to Install Cable Trays
Installing a cable tray system requires careful planning to ensure it can support the weight of the cables and adheres
Mastering Cable Tray Installation | Step-by-Step Guide for a Seamless
Follow these steps: Attach Wall Brackets. If the cable trays will be wall-mounted, fix the brackets securely to the wall
Cable Tray Installation Method Statement
Below is the detailed cable tray installation method statement not only for cable tray but also applicable for GI ladder and trunking for
Support methods
Attach the bracket to the mounting surface, position tray over bracket and slide tray under tabs. Lock tabs down using a screwdriver.
Cable Tray Installation
Learn everything about cable tray installation with our complete guide. Discover types, steps, and safety tips for
Cable Tray Installation
Use the right cable tray conduit clamps and brackets for wall, ceiling, or floor support. Make sure supports are spaced
Cable Containment Installation Method
The scope includes installing cable ladders, trays, trunking and brackets to properly support electrical and data cables. Safety is a
Related Resources
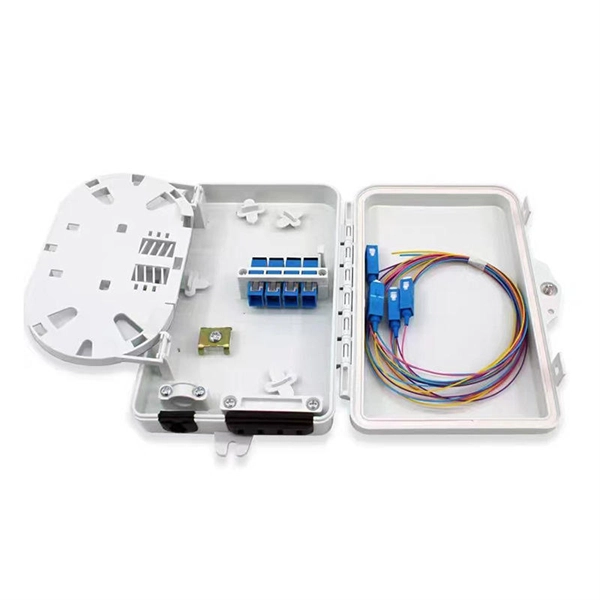
- Fiber Optic Terminal Box 4-Port Small
- Nauru U-shaped steel cable tray manufacturer
- Non-contact testing of fiber optic connectors
- Papua New Guinea Bending-Insensitive Fiber Optic G 654
- Components of an Indoor Electrical Distribution Box
- Cable tray construction site
- Wholesale OSFP optical modules DML
- Welding is not permitted on cable trays
- Requirements for fire lamp distribution boxes
- What are the materials used in power optical cables
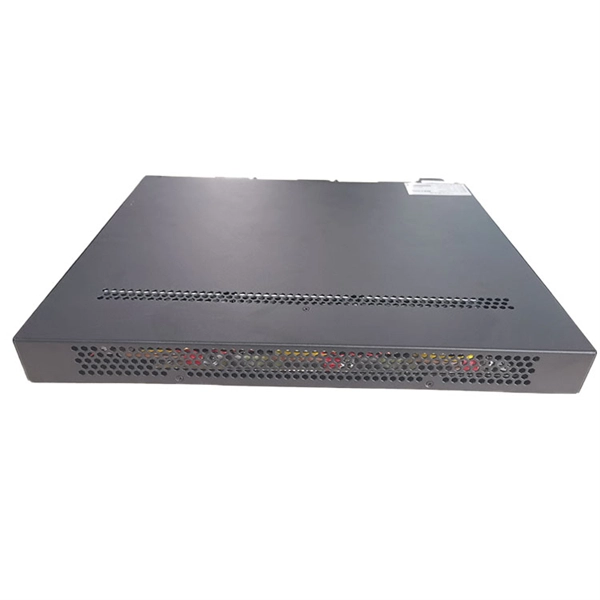
- 100G Fiber Port Switch
- Why some fluorescent tubes do not require a starter
- North Africa Indoor Optical Cable Price List
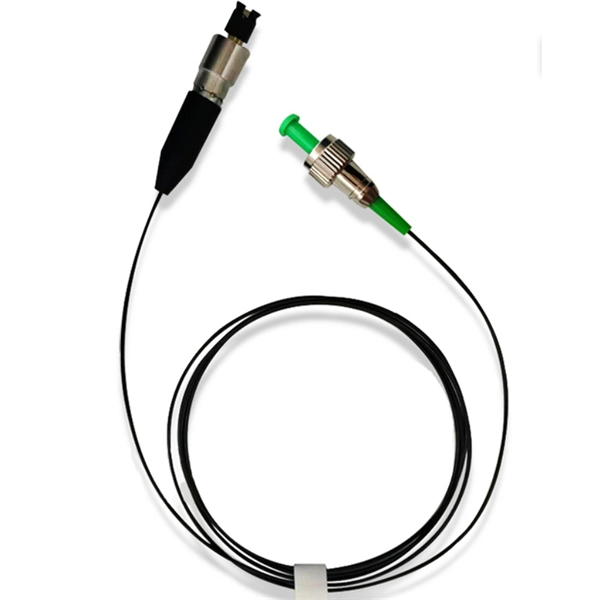
- How are optical fiber pigtails made
- Sales of Aluminum Profile Cable Trays
- Sri Lanka Stranded Flame-Retardant Optical Cable Price Quote
- Grounding requirements for Level 2 distribution boxes
- Somali workshop cable tray manufacturer
- Low-temperature resistant communication power systems for field operations